Imagine pulling a warm, crusty loaf of artisan bread from your oven, its aroma filling your kitchen, and you’ve spent mere minutes of active effort to achieve it. Sound like a dream? It's not! Welcome to the revolutionary world of no knead bread recipe. This ingenious method allows even the most novice bakers to create bakery-quality bread with minimal fuss, transforming a seemingly complex craft into an accessible joy. Whether you prefer the straightforward reliability of commercial yeast or the nuanced depth of a sourdough starter, this guide will walk you through crafting your perfect loaf.
The beauty of no-knead bread lies in its simplicity. Forget the strenuous kneading, the intricate shaping, and the constant attention traditional bread recipes demand. With just four basic ingredients – flour, water, salt, and your chosen leavening agent – and a bit of patience, you're on your way to a delightful, chewy interior and a perfectly crisp crust. It's truly a game-changer for anyone looking to bring the warmth and satisfaction of homemade bread into their life.
The Magic Behind No-Knead Bread: Why It Works So Well
For centuries, kneading has been considered the cornerstone of bread making, essential for developing the gluten structure that gives bread its elasticity and chew. So, how does a no-knead bread recipe defy this fundamental rule?
- Time is Your Kneading Machine: The secret lies in a very wet dough and an extended, slow fermentation period. In this hydrated environment, the gluten proteins, which are responsible for the bread's structure, are able to relax and unwind. Over 12-18 hours (or even longer for sourdough), these proteins naturally align and form a robust network on their own, negating the need for manual kneading. This long rest also allows complex flavors to develop, giving your bread a depth that quick loaves simply can't achieve. Think of it as allowing nature to do the heavy lifting for you!
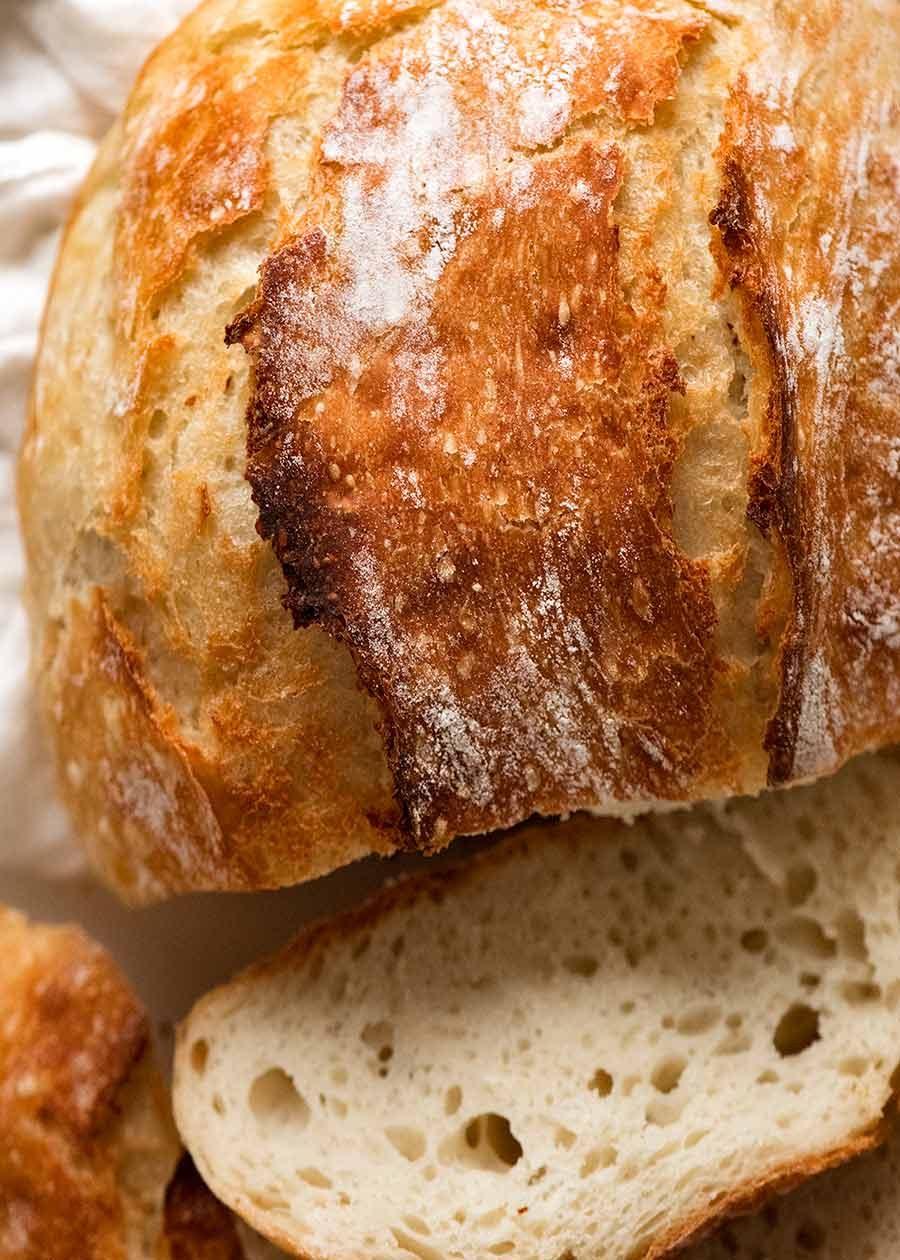
- The Power of the Hot Dutch Oven: The second critical element for achieving that irresistible crispy crust and soft crumb is baking in a preheated Dutch oven. When the wet dough is dropped into a scorching hot pot and then covered, the lid traps the steam released from the dough. This humid environment in the initial baking phase prevents the crust from forming too quickly, allowing the bread to fully expand and creating a thin, tender skin. Once the lid is removed, the direct heat from the pot and the oven bakes the crust to a beautiful, golden-brown crispness. The Dutch oven also acts as a miniature, extremely efficient oven, radiating heat evenly around the loaf, ensuring a consistent bake that's hard to replicate on an open baking sheet.
Choosing Your Starter: Yeast or Sourdough?
The core of any great bread lies in its leavening. With a no knead bread recipe, you have the flexibility to choose between commercial yeast for speed and predictability, or a sourdough starter for its unique flavor profile and a more traditional approach.
Mastering No-Knead Yeast Bread
This is often the entry point for many aspiring no-knead bakers, and for good reason! It's incredibly straightforward and consistently delivers fantastic results.
- The Right Flour: For that classic artisan texture, all-purpose flour or bread flour are your best bets. Bread flour, with its higher protein content, will yield a slightly chewier crumb. However, don't hesitate to experiment! You can substitute up to one cup of your white flour with whole wheat, rye, or spelt flour for added flavor complexity and nutritional value. Just be aware that whole grain flours absorb more water, so you might need to adjust the hydration slightly.
- Your Yeast Choice: Both instant yeast (also known as rapid-rise) and active dry yeast work beautifully. Instant yeast can be mixed directly with the dry ingredients, while active dry yeast usually benefits from being dissolved in a small amount of warm water first (though many no-knead recipes simply add it dry due to the long fermentation). Store your yeast in the freezer; it can last for years and remain potent!
- The Process: Simply combine flour, yeast, salt, and water in a large bowl. Stir until just combined – no need for extensive mixing. Cover the bowl tightly with plastic wrap and let it rest at room temperature for 12-18 hours. The longer rise allows the gluten to develop and flavors to deepen. After the first rise, gently fold the dough a few times, let it rest briefly, and then transfer it to your preheated Dutch oven for baking.
Embracing Sourdough No-Knead Bread
If you've got a thriving sourdough starter, or are ready to cultivate one, incorporating it into your no-knead routine opens up a world of tangy flavors and incredibly complex aromas. Using sourdough requires a little more understanding of your starter's vitality but is incredibly rewarding.
- Sourdough Starter Only: This method relies solely on the natural yeasts and bacteria in your starter for leavening. It requires an active and robust starter. To substitute, you'll typically replace a portion of the water and flour in a yeast-based no knead bread recipe with a generous amount of active starter (e.g., 1 cup or 200g of starter). Adjust the remaining water accordingly (usually 1.5 to 1.75 cups, depending on your desired dough hydration and starter consistency) and mix it directly with your dry ingredients. The fermentation time might be longer than with commercial yeast, often 18-24 hours or even more, depending on your starter's strength and ambient temperature.
- Sourdough Starter + Yeast (Hybrid Approach): If you're new to sourdough baking, or if your starter isn't as robust as you'd like, a hybrid approach offers a great safety net. This involves using a smaller amount of commercial yeast (e.g., ¼ teaspoon) alongside your sourdough starter. Reduce the water slightly (e.g., use ¼ cup starter, then add enough room temperature water to reach 1.5 cups total liquid). This combination gives you the distinct sourdough flavor while ensuring a reliable rise. It's an excellent way to transition into full sourdough baking.
- The Sourdough Advantage: Beyond flavor, sourdough bread is often more digestible due to the pre-fermentation process breaking down complex carbohydrates. It also tends to have a longer shelf life.
Essential Tips for No-Knead Perfection
While the no-knead method is forgiving, a few key practices will elevate your homemade bread from good to truly exceptional.
- Dough Hydration is Key: Your dough should be quite sticky and shaggy, not firm or dry. This high hydration is what allows the gluten to develop on its own. If your dough feels too stiff, add a tablespoon or two more water. If it feels too soupy, a tablespoon of flour might help, but err on the side of stickiness.
- Resist Over-Handling: After the first long rise, your dough will be bubbly and full of life. When you go to shape it, do so gently. A few quick folds to create tension on the surface are all that's needed. Overworking the dough at this stage can deflate all the wonderful gases developed during fermentation.
- The Final Rest: Once shaped, allow your dough a brief rest (often 30 minutes to an hour) while your Dutch oven preheats. This allows the dough to relax and rise slightly again, leading to a better oven spring.
- Preheating Your Dutch Oven: This step is non-negotiable for that perfect crust. Place your empty Dutch oven with its lid into a cold oven, then preheat the oven to the specified temperature (usually 450-500°F or 230-260°C) for at least 30 minutes, or even an hour, once it reaches temperature. It needs to be screaming hot.
- Scoring for Beauty and Structure: Before baking, a quick slash across the top of your dough (using a very sharp knife or razor blade, known as a lame) allows the steam to escape in a controlled manner, directing the oven spring and preventing uncontrolled cracking. It also adds a beautiful artisanal touch.
- Cooling is Crucial: As tempting as it is to slice into that warm loaf immediately, resist! Bread continues to cook and set as it cools. Slicing too soon can lead to a gummy interior. Allow your bread to cool on a wire rack for at least an hour, or even two, for the best texture and flavor.
- Storage: Once completely cool, store your no knead bread recipe in a bread bag or wrap it in a clean kitchen towel. It will stay fresh for 2-3 days at room temperature. For longer storage, slice and freeze for easy access to fresh toast or sandwiches.
Your Ultimate No-Knead Bread Recipe Journey
Embarking on your no-knead bread adventure is more than just following a recipe; it's about understanding the simple principles that deliver incredible results. Start with a basic yeast no-knead bread to build confidence, then explore the rich world of sourdough. Don't be afraid to experiment with different flours, hydration levels, or even add-ins like seeds, herbs, or cheese once you've mastered the fundamentals.
Every loaf will teach you something new, and soon you'll develop an intuitive feel for your dough. The satisfaction of pulling a golden, fragrant loaf from your oven, knowing you created it with minimal effort, is truly unmatched. So, grab your bowl, choose your starter, and get ready to enjoy the easiest, most delicious homemade bread you've ever baked.
